
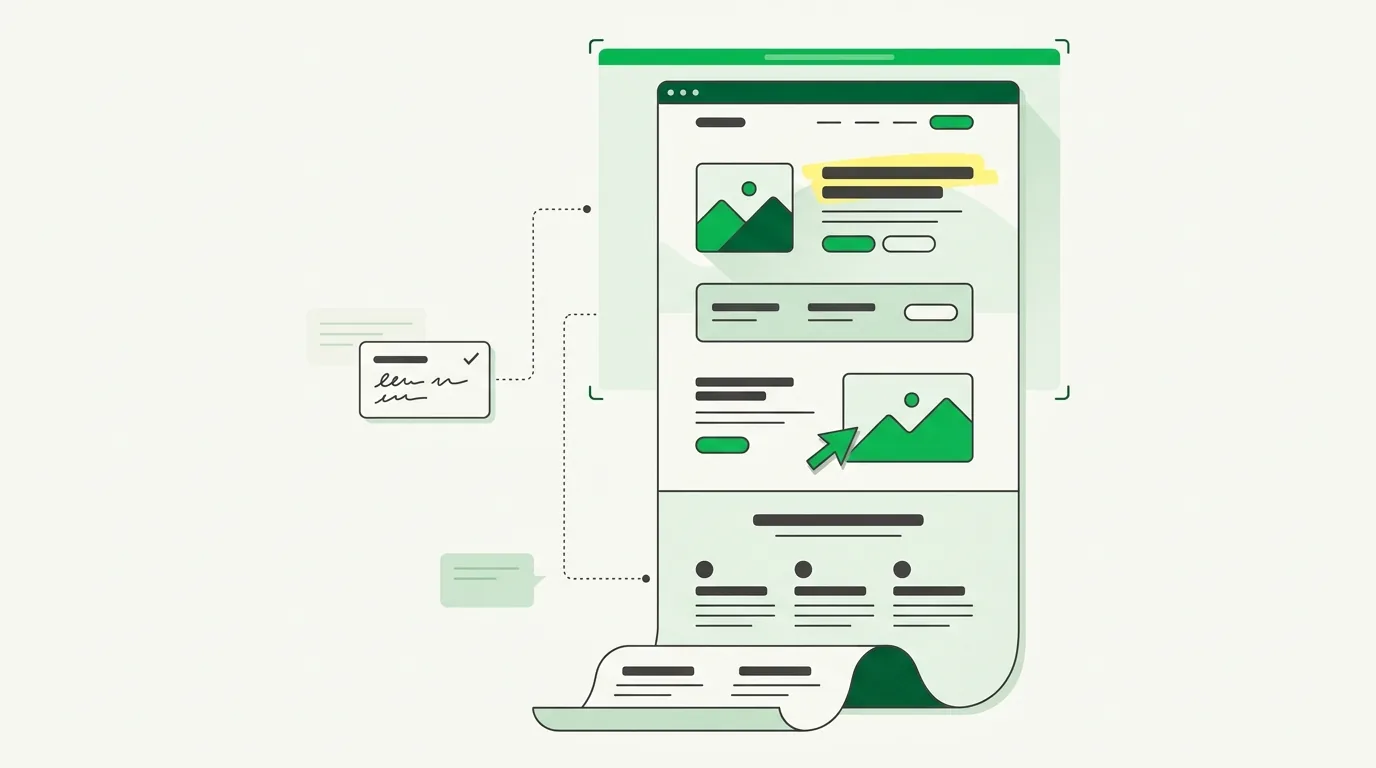
To take a full-page screenshot with annotations, mark up the live page first, then capture in full-page mode: the extension scrolls the document, stitches the screens into one image, and renders your highlights, arrows and notes into it. Annotating before you capture is the whole trick — it is what turns a very tall picture into something a colleague can actually read.
The screenshot that contains everything and says nothing
Full-page capture is a solved problem. A dozen extensions do it in one click, and they do it well. So you send a colleague a 12,000-pixel PNG of the landing page and write "a few issues in here". They open it, scroll for a while, and come back with "which part?"
The capture was complete. That was never the problem. A long screenshot has no focal point, no reading order and no indication of what you wanted the person to look at — it hands over the entire haystack and asks them to guess the needle. Completeness and legibility are different goals, and the tools that solved the first one never claimed to solve the second.
What the extra scrolling costs
- A round trip per screenshot: you send the image, they ask where to look, you answer. Two half-days of latency in async work, for something an arrow would have said.
- Captions that try to substitute for pointing — "in the third section, the card on the right, under the heading" — which take longer to write than the fix takes to make.
- Issues nobody notices, because they sat at pixel 8,400 of an image that got skimmed.
- A second screenshot, cropped this time, sent ten minutes later — which means the full-page capture was wasted work.
Three traps in full-page capture that nobody warns you about
Full-page capture is not one screenshot. The extension scrolls the document one screen at a time, captures each screen, and stitches the tiles together. That mechanism is invisible when it works, and confusing when it does not:
- <strong>Sticky headers repeat.</strong> Anything fixed to the viewport — a navigation bar, a cookie banner, a chat bubble — is present in every tile, so it appears a dozen times down the stitched image. Dismiss the banner and, if you can, disable the sticky header before capturing.
- <strong>Lazy-loaded content can be missing.</strong> Images and sections that load as you scroll may not have arrived by the time their tile is captured. Scroll the page to the bottom once yourself, let everything load, then capture.
- <strong>Horizontal overflow is not captured.</strong> Full page means the full <em>height</em> of the document. A wide table that scrolls sideways is cut at the viewport edge, whatever mode you use.
Scroll to the bottom, wait for the images, scroll back to the top, dismiss the banners. Four seconds of preparation removes most of what makes a stitched capture look broken.
What makes a long capture readable
A full-page screenshot is a document, not an image, and documents need navigation. Three things give it that, and all three have to exist before you press capture — you cannot add them afterwards without going back through an image editor.
- <strong>Entry points.</strong> Marks that survive being skimmed at 20% zoom: a highlighter swipe, a coloured rectangle around a region. They tell the eye where to stop.
- <strong>Precision.</strong> An arrow aimed at one element out of the forty on screen, so a remark is attached to a thing rather than a neighbourhood.
- <strong>The reasoning.</strong> A note in the margin, next to what it is about. The sentence you would have written in the message body, positioned where it applies.
Do that and the length stops being a liability. The reader scrolls, hits a coloured mark, reads the note beside it, moves on. They never wonder what they are looking for.
How to capture a full page with annotations
With Highlite, a free extension, annotating and capturing are the same pass:
- Scroll to the bottom to load everything, dismiss the cookie banner, scroll back up.
- Activate the toolbar and mark the page up: H to highlight, A for an arrow, R to frame a region, N to pin a note.
- Press ⌘⇧E to open the export panel and choose <strong>Full page</strong>.
- The page scrolls itself, stitches the tiles, and puts you back where you were.
- Download the PNG, or copy it to the clipboard and paste it straight into Slack, Jira or a doc.
The annotations are rendered into the image at your screen resolution, so the person receiving it needs no extension, no account and no link. Viewport and drag-to-select capture sit in the same panel when the whole page is more than you need — which, for a single broken button, it usually is.
A pre-launch review of a pricing page: a yellow highlight on the plan name that contradicts the FAQ, a rectangle around the comparison table with a note reading "the annual column is wrong below 1280px", and an arrow from a margin note to a CTA that scrolls past the fold on mobile. One full-page capture, three stops, no follow-up question.
When not to capture the full page
Full page is the right mode for a review of a whole document: a landing page, an article, a long form. It is the wrong mode for one issue. If your feedback is about a single element, a viewport capture or a dragged selection arrives already cropped to the thing you mean, and nobody has to scroll at all. The best full-page screenshot is often the one you decided not to take.
For the mechanics of each capture mode, see the screenshot capture page. For how the annotation tools themselves work, see how to annotate any webpage, and for pasting captures into a chat with an AI assistant, copying screenshots to the clipboard.
Frequently asked questions
How do I take a screenshot of an entire webpage?
Use a browser extension with a full-page capture mode. It scrolls the document one screen at a time, captures each screen and stitches the tiles into a single image, then returns you to where you were. Your operating system’s built-in screenshot tool only captures what is currently visible.
Can I annotate a full-page screenshot?
Annotate the live page before capturing, rather than editing the image afterwards. The marks land on the real elements, they scroll with the page as it is stitched, and they are rendered into the final image — which saves the round trip through an image editor and keeps the notes aligned with what they describe.
Why does my full-page screenshot repeat the header?
Because the header is fixed to the viewport rather than to the document. Full-page capture works by scrolling and stitching, so anything pinned to the screen is captured in every tile. Disable the sticky header or dismiss the banner before capturing.
Is there a size limit on a full-page capture?
Yes. Highlite caps a capture at 16,000 device pixels tall, which covers the vast majority of pages. An infinite-scroll feed has no natural end, so capture the section you care about with a dragged selection instead.
Do I need an account to capture a full page?
No. All three capture modes — viewport, full page and selection — are free, with no sign-up and no watermark. A Highlite account is only needed for the Premium export destinations, such as sending a capture straight to a Slack channel.