
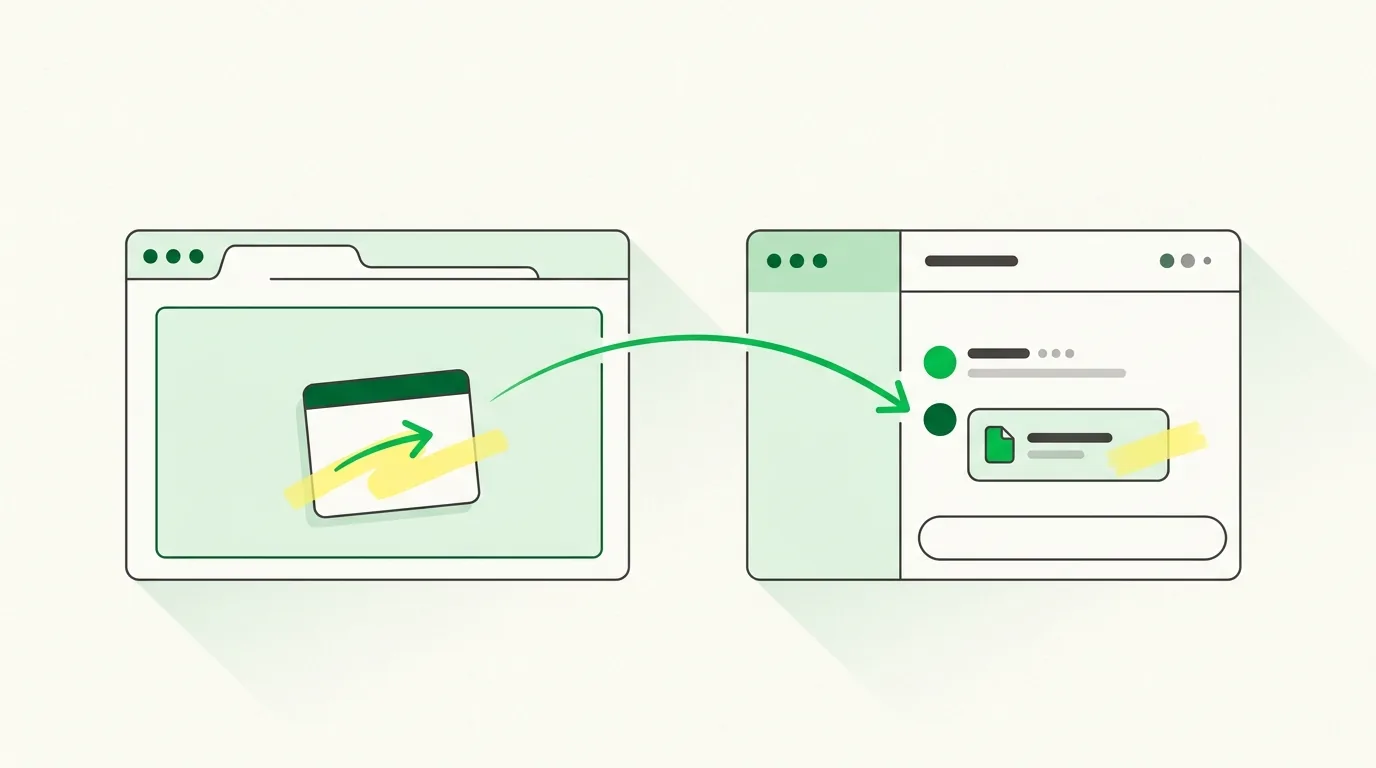
To send an annotated screenshot to Slack, annotate the live page first, then capture it and post it. With a browser extension you can do both without leaving the tab: mark up the page, open the export panel, and either copy the image and paste it into Slack, or send it straight to a channel with a comment attached.
The screenshot that starts a thread instead of ending one
You spot something broken, hit the screenshot shortcut, drop the image in #product, and type: "the CTA looks off on the pricing page, second block I think, also the spacing under the header." Someone replies "which CTA?". Someone else asks for the URL. Four messages later, the thing you saw in two seconds has cost the channel ten minutes.
Why the caption never does the work
A raw screenshot is a picture of everything. Your reader has to find the one element you meant among the hundred you captured, guided only by prose.
- The image shows the whole page; the message describes one part of it.
- Multiple issues in one screenshot become a numbered list nobody can map back to pixels.
- Slack compresses and crops previews, so small details vanish until someone clicks through.
- Threads scroll away. A screenshot with no marks is unreadable a week later, even to the person who posted it.
The usual detour: capture, edit, upload
The workaround most people land on is a three-app relay. Take the screenshot with the OS tool. Open it in Preview, Paint, or a design app. Draw a red rectangle. Save. Find the file. Drag it into Slack. It works, and it takes a minute or two each time, which is exactly why it stops happening on a busy afternoon. Screen recordings are worse: heavier, unsearchable, and impossible to reference at a precise moment.
What the ideal flow looks like
The annotation should happen on the live page, before the capture, so the marks land exactly on the elements. The capture should offer a region as well as the full viewport, because half of the noise in a screenshot is the part you did not need. And the trip to Slack should be a single action — no file on the desktop, no upload dialog.
A useful test: if your Slack message needs the words "top right" or "the one under the banner", the annotation should have carried that, not the caption.
The free route: annotate, copy, paste
This one works on every plan and takes about ten seconds. With Highlite:
- Activate the toolbar on the page you want to report on.
- Press A to draw an arrow at the broken element, N to pin a note explaining it, H to highlight the wrong words.
- Press ⌘⇧E to open the export panel and choose viewport or a selected region.
- Pick "copy to clipboard".
- Switch to Slack and press ⌘V. The annotated image is in the channel.
No file is written to disk, and nothing is uploaded anywhere until you paste — useful when the page is a client staging build or an internal dashboard.
The one-step route: send to a channel from the page
If you post to Slack often, the copy-paste tab dance is still two context switches too many. Highlite can send the capture to Slack directly:
- Open the export panel and choose Slack as the destination.
- Connect your Slack workspace once — the extension asks for permission the first time, then remembers.
- Pick the channel from the list.
- Add a short comment to post with the image.
- Send. The annotated capture lands in the channel without you leaving the page.
To be straight about it: sending to Slack from the extension is part of the paid Pro plan. Annotating and copying to the clipboard are free and always will be — the paid destination buys you the shortcut, not the ability to give feedback.
QA finds a checkout bug on staging. Arrow on the disabled Pay button, note with the repro steps, highlight on the wrong total. Region capture around the checkout panel only, sent to #bugs with the comment "blocks release, staging only". The developer opens Slack and needs no follow-up question.
For the wider workflow, see annotating a website for bug reports, and for pasting captures into other tools, copying screenshots to the clipboard.
Frequently asked questions
How do I send a screenshot to Slack without saving a file?
Copy the capture to your clipboard and paste it into the Slack message box with ⌘V (Ctrl+V on Windows). Slack uploads clipboard images directly, so nothing has to be written to your desktop first.
Can I annotate a screenshot before sending it to Slack?
Yes — and it is easier to annotate the live page before capturing than to edit the image afterwards. Arrows, notes, and highlights are placed on the real elements, and the capture includes them.
Is sending to Slack from the extension free?
Sending straight to a Slack channel is a Pro feature. Annotating pages and copying the annotated capture to your clipboard are free with no account, and pasting into Slack takes one extra keystroke.
What does connecting Slack give the extension access to?
The connection is used to list the channels you can post in and to upload the image you explicitly send. Nothing is posted without you choosing a channel and pressing send, and you can disconnect the workspace from the same panel at any time.
Try it on this page: draw an arrow at this paragraph, capture the region, and paste it into your team channel. About fifteen seconds, no file on your desktop.